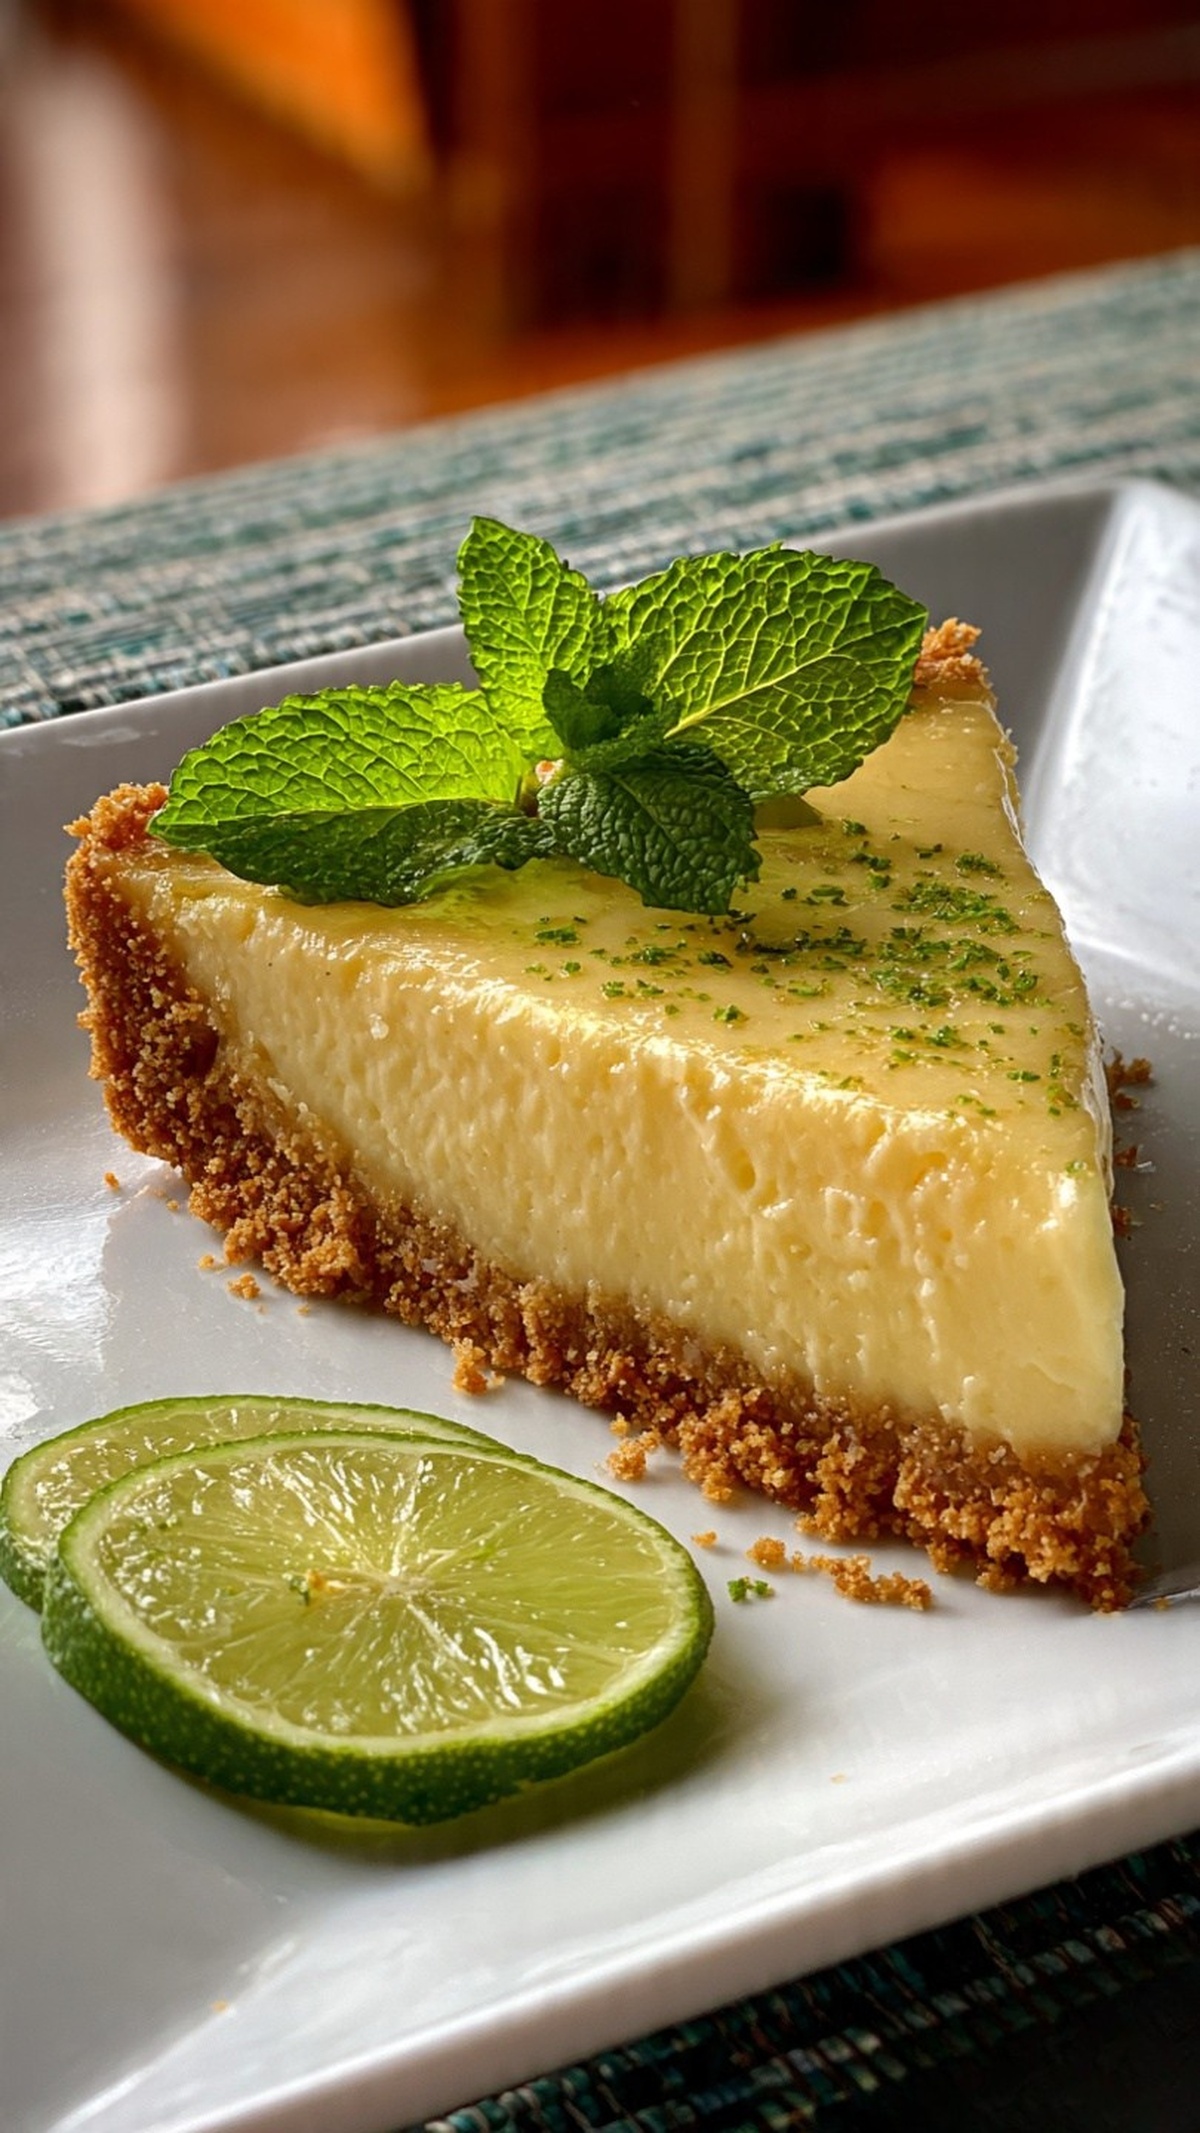
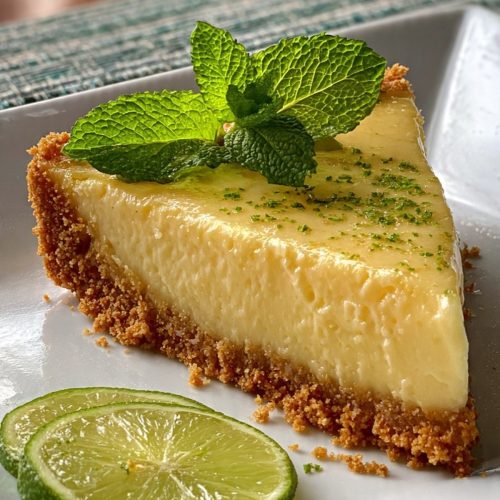
Key lime pie is one of those desserts where the main ingredient has no place hiding in the background. If I’m going to squeeze all that juice, I want every slice to taste sharp, bright, and clean. This version does exactly that: it leans hard into real key lime juice and zest, then smooths everything out with sour cream so the flavor is bold but not harsh.
I like this recipe when I need something that tastes impressive but doesn’t take much time or equipment. The filling is basically a stir-and-pour situation, and the crust is just graham crackers, sugar, and melted butter. There’s no pastry to chill, no blind baking drama, and no worrying about whether the center is set like with custard pies.
The real advantage here is control over the lime flavor. Bottled juice can taste flat or bitter, but fresh key limes (or even regular limes, if that’s what you have) give you that punchy citrus edge you want in a key lime pie. The sour cream rounds it out so the texture is creamy and the sweetness from the condensed milk doesn’t take over. If you want a dessert that’s straightforward, affordable, and all about the lime, this hits the mark.
Master the Method: Key Lime Pie
Gather These
- For the Pie Crust:
- 1 1/2 cups graham cracker crumbs
- 1/3 cup sugar
- 6 tablespoons butter, melted
- For the Pie Filling:
- 28 ounces (two 14 oz cans) sweetened condensed milk
- 3/4 cup fresh key lime juice (regular lime juice works in a pinch)
- 1 tablespoon key lime zest (or regular lime zest)
- 1/2 cup plus 2 tablespoons sour cream
Steps to Savor
- Prep and preheat for the crust. Set your oven to 375°F (190°C). This higher initial temperature helps the graham crust set quickly so it doesn’t turn greasy. Lightly grease a 9-inch pie plate if it’s not nonstick.
- Mix the crust ingredients. In a medium bowl, combine the graham cracker crumbs, sugar, and melted butter. Stir until every crumb is evenly coated and the mixture holds together when you press it between your fingers. At this stage, it should look like slightly wet sand that clumps easily.
- Press and bake the crust. Pour the crumb mixture into the pie plate. Use your fingers or the bottom of a measuring cup to press it firmly across the bottom and up the sides. Aim for an even thickness so it bakes uniformly. Bake for about 7 minutes, until it looks lightly set and smells toasty, but not browned. Set aside and let it cool completely so the warm filling doesn’t melt and break the crust.
- Lower the oven for the filling. Turn the oven down to 350°F (175°C). This gentler heat helps the filling set without browning or curdling at the edges.
- Combine the filling base. In a large, non-metal bowl, add the sweetened condensed milk, fresh key lime juice, and lime zest. Scrape out every bit of condensed milk from the cans with a spatula so the filling stays rich and thick; leaving some behind can make the texture slightly thinner and less stable.
- Whisk in the sour cream. Add the sour cream and whisk or stir until the mixture is completely smooth, with no streaks of white or separate layers. The filling should be creamy and pourable, slightly thicker than heavy cream. Stop mixing once it’s uniform; over-whisking can incorporate too much air and create bubbles on top.
- Fill the crust. Pour the lime filling into the cooled graham crust. Tilt or gently tap the pie plate on the counter to help the filling level out and release any large air bubbles. The surface should look glossy and even.
- Bake just until set. Place the pie in the 350°F oven and bake for about 10 minutes. You’re not looking for browning; the top should stay pale. The pie is ready when the edges look slightly set and the center still has a gentle wobble if you nudge the pan. If it starts to color, pull it out right away.
- Cool to room temperature. Set the pie on a rack and let it cool completely. This gradual cooling lets the filling finish setting without cracking or separating. It should feel room temperature to the touch before it goes into the fridge.
- Chill for clean slices. Transfer the cooled pie to the refrigerator and chill for at least 2 hours, or until thoroughly cold. Chilling is what gives you neat, firm slices instead of a runny center. Just before serving, decorate with whipped cream if you like, and slice with a sharp knife wiped clean between cuts.
Key Limes vs Regular Limes
Key limes are smaller, thinner-skinned, and more aromatic than regular (Persian) limes. Their juice has a slightly more floral, tangy punch, which makes a classic key lime pie stand out. If you can find fresh key limes at a good price, they’re worth using. The tradeoff is that they’re more work to juice because of their size, and you’ll need quite a few to reach 3/4 cup. Regular limes are a completely acceptable substitute, especially if you’re on a budget or cooking in a hurry. When swapping, focus on fresh juice and zest more than the exact variety. Freshly squeezed juice gives a brighter flavor than bottled, and the zest carries most of the citrus oils. If you’re using regular limes, add the full tablespoon of zest to boost aroma and bring the flavor closer to that classic key lime intensity.
Make-Ahead and Chilling Tips
This pie does well made ahead, which is useful if you’re planning for guests or bringing dessert to an event. You can bake it the day before and chill it, uncovered, until completely cold. Once it’s cold and firm, cover it tightly with plastic wrap or foil to prevent it from picking up fridge odors. For the best texture, serve it within 24–36 hours. If you want to prep even further ahead, you can bake the graham crust alone, cool it completely, then wrap and store it at room temperature for up to 2 days before filling. Always keep the finished pie refrigerated, and add whipped cream just before serving so it stays stable and doesn’t weep onto the pie surface. When slicing, use a cold pie and a hot, clean knife (dip in warm water and wipe) for the sharpest-looking slices.
Recipe Help: Frequently Asked Questions
Why does the recipe use a non-metal bowl for the filling, and does it really matter?
Metal, especially reactive metals like aluminum, can sometimes interact with acidic ingredients such as lime juice and slightly affect flavor or color. Using a non-metal bowl (glass or plastic) keeps the lime flavor clean and avoids any faint metallic taste. It also helps you see whether the mixture is fully combined, since streaks are more obvious. If all you have is stainless steel, you can still use it, but avoid letting the filling sit in the bowl for too long before baking. Mix it, pour it into the crust, and get it into the oven promptly for the best result.
How can I tell if I’ve overbaked the pie, and can it be fixed?
Overbaked key lime pie usually shows up as a filling that’s dry-looking on top, with small bubbles or blisters and sometimes a cracked surface near the edges. The texture may turn slightly rubbery instead of silky. To avoid this, watch for the visual cue: the edges should look just set and the center should still wobble gently when you nudge the pan. If you realize it’s slightly overbaked, let it cool and chill as usual; the flavor will still be good, just a bit firmer. To mask surface imperfections, top with whipped cream before serving. What you can’t do is reverse the overbaking, so next time, start checking a few minutes earlier and rely on the wobble test rather than the timer alone.
Can I freeze key lime pie, and how should I thaw it without ruining the texture?
Yes, this key lime pie freezes surprisingly well because the filling is condensed milk–based and doesn’t rely on delicate egg foams. To freeze, chill the baked pie completely, then wrap it tightly in plastic wrap and a layer of foil to prevent freezer burn. Skip adding whipped cream until after thawing. For best quality, use it within 1–2 months. To thaw, place the wrapped pie in the refrigerator for several hours or overnight so it defrosts slowly. Avoid thawing at room temperature, which can cause condensation and a watery surface. Once thawed and still cold, unwrap, pat away any moisture on the foil, and garnish with fresh whipped cream before serving.
Key Lime Pie
Ingredients
Pie Crust:
- 1 1/2 cups graham cracker crumbs
- 1/3 cup sugar
- 6 tablespoons butter
Pie Filling:
- 28 ounces sweetened condensed milk two 14-ounce cans
- 3/4 cup fresh key lime juice can substitute regular lime juice
- 1 tablespoon key lime zest can substitute regular lime zest
- 1/2 cup plus 2 tablespoons sour cream
Instructions
- Assemble all ingredients and have a 9-inch pie plate ready.
For the Pie Crust:
- Preheat the oven to 375°F (190°C). In a bowl, combine the graham cracker crumbs, sugar, and melted butter until the crumbs are evenly moistened.
- Press the crumb mixture firmly and evenly into the bottom and up the sides of a 9-inch pie plate. Bake the crust for 7 minutes, then remove and allow it to cool completely before filling.
For the Pie Filling:
- Reduce the oven temperature to 350°F (175°C). In a large non-metal bowl, combine the sweetened condensed milk, key lime juice, lime zest, and sour cream. Stir or whisk until the mixture is smooth and homogeneous, scraping the bowl to incorporate every bit.
- Pour the filling into the cooled graham cracker crust and bake for about 10 minutes, just until the filling is set and not browned at the edges.
- Allow the pie to cool to room temperature, then refrigerate for at least a couple of hours (about 2 hours) to fully chill and firm up.
- When ready to serve, garnish with whipped cream if desired and slice to enjoy.