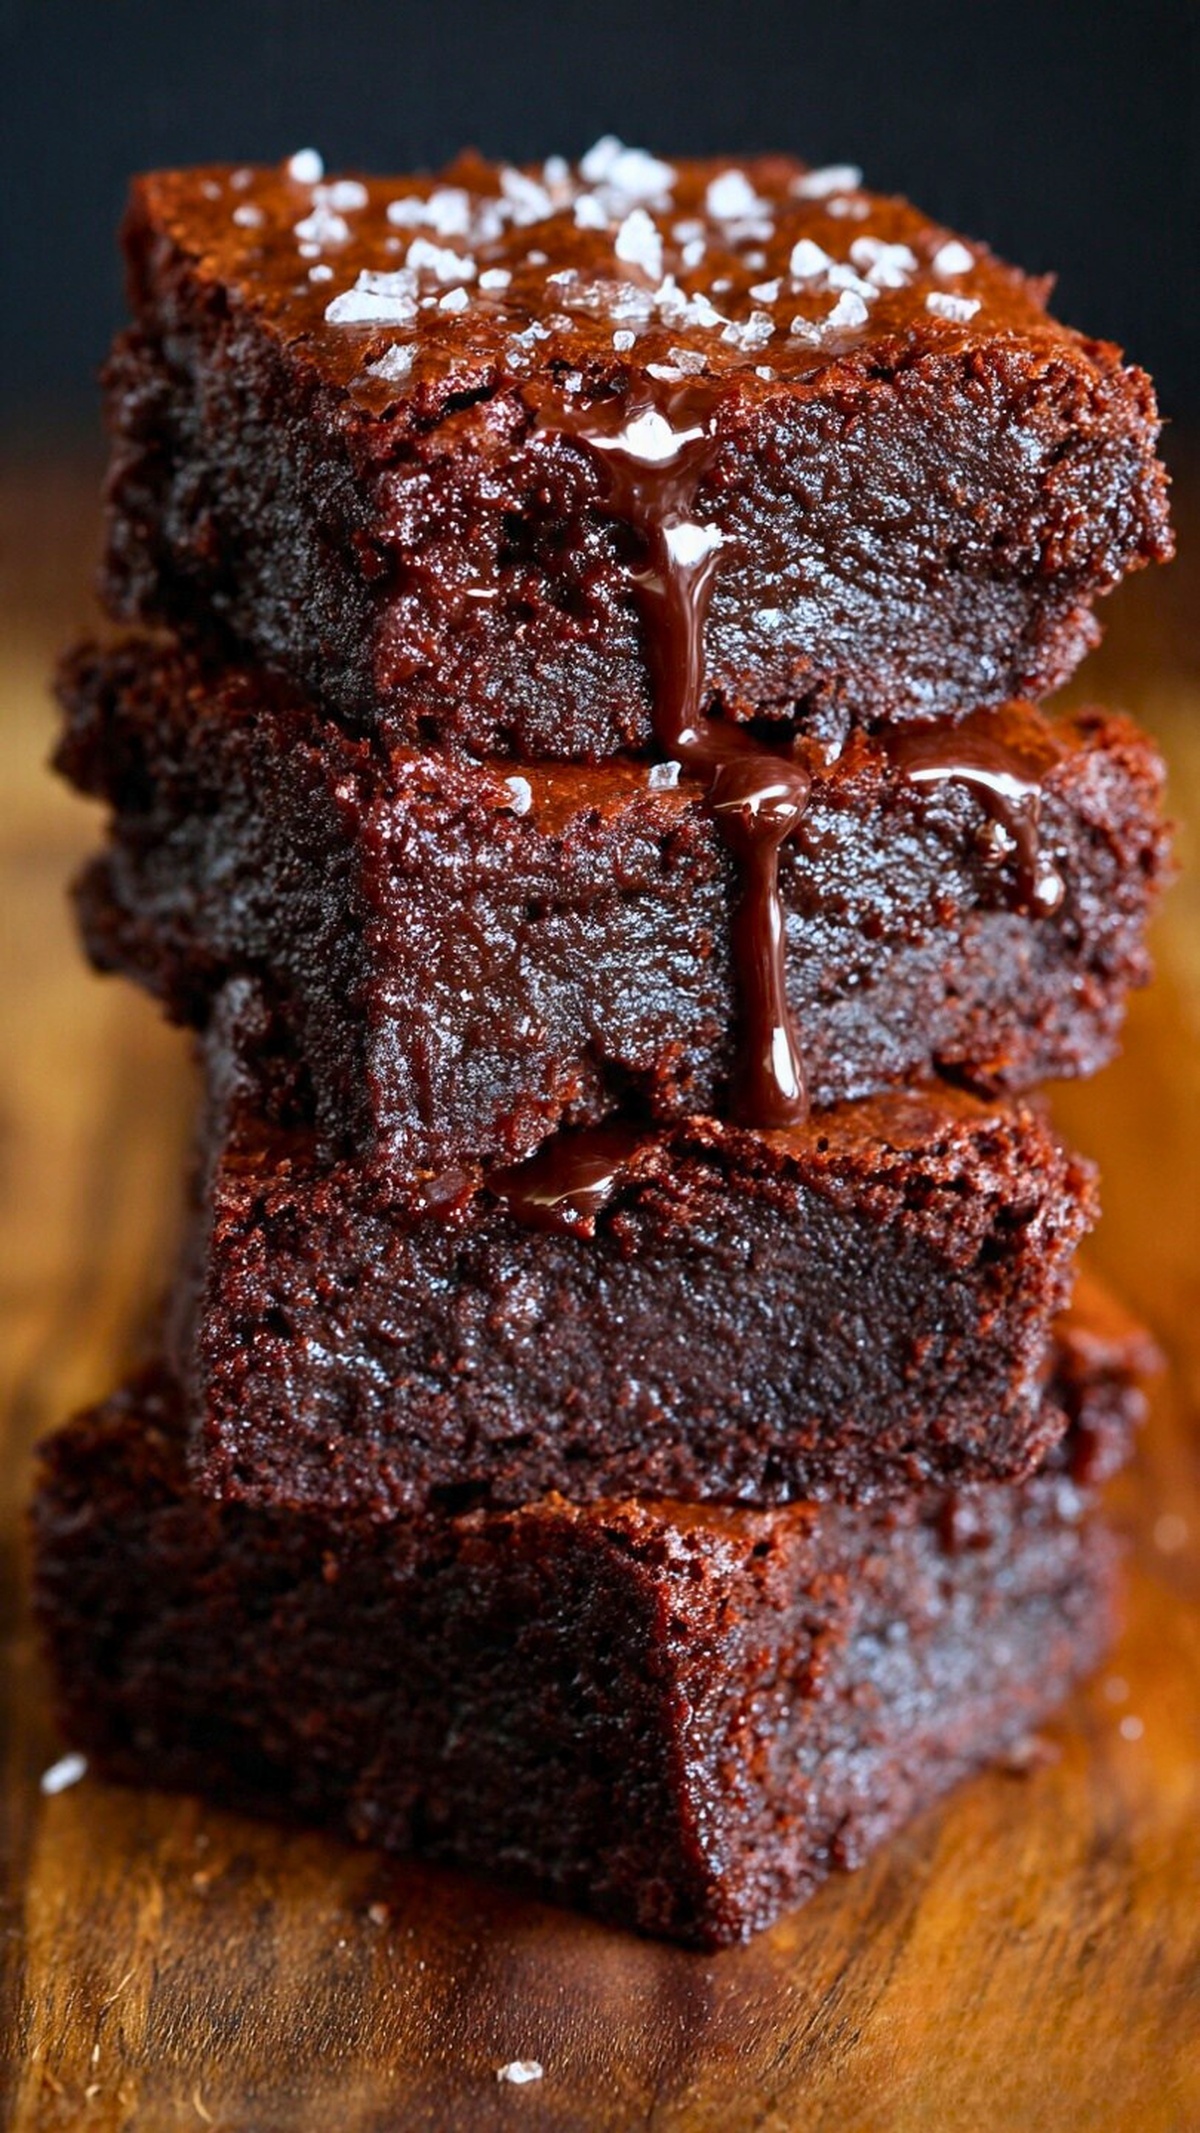
I love recipes that don’t ask for much but give a lot back, and these Greek Yogurt Brownies are exactly that. One bowl, simple ingredients, and minimal cleanup, but you still get that rich, chocolatey bite you expect from a good brownie. They’re lighter than traditional versions, but not in a way that feels “diet” or fussy.
Greek yogurt pulls double duty here: it adds moisture and tenderness, while cutting down on butter or oil. If you like having something sweet on hand without spending an hour in the kitchen, this is a very practical option. The batter comes together fast, bakes in under half an hour, and the ingredients are easy to find anywhere you travel. If you’re curious about a slightly healthier brownie that still tastes like dessert, this one’s worth a try.
Elegant Simplicity: Greek Yogurt Brownies
The Required Ingredients
- 1/2 cup chocolate, chopped
- 1 cup vanilla yogurt (*see notes)
- 1/2 teaspoon vanilla extract
- 1/2 cup sugar of choice (white, brown, or sugar-free)
- 3/4 cup all-purpose flour (gluten free, if needed)
- 1/2 cup cocoa powder
- 1/2 teaspoon baking soda
- 1/2 cup milk of choice (such as unsweetened almond milk)
- 1 cup chocolate chips of choice (optional)
Technique-Focused Instructions
- Prep the pan and oven. Preheat your oven to 180°C/350°F. Line an 8 x 8-inch baking pan with parchment paper, leaving some overhang for easy lifting later. This helps prevent sticking and makes cleaner slices.
- Melt the base chocolate. Place the chopped chocolate in a microwave-safe bowl. Microwave in short bursts (20–30 seconds), stirring between each, until smooth and fully melted. Let it sit for 1–2 minutes so it cools slightly; this prevents the yogurt from curdling or the sugar from dissolving unevenly.
- Whisk in the wet ingredients. Add the yogurt, vanilla extract, and sugar to the melted chocolate. Whisk until the mixture becomes smooth and glossy, with no streaks of yogurt or sugar. At this point it should look like a thick chocolate sauce.
- Add dry ingredients gently. Transfer the chocolate mixture to a larger mixing bowl if needed. Sift or sprinkle in the flour, cocoa powder, and baking soda. Stir with a spatula or spoon just until no dry patches remain. Don’t overmix here—you want to keep the brownies tender, not tough.
- Loosen with milk. Pour in the milk and mix again until fully incorporated. The batter should be thick but pourable, similar to a heavy cake batter. If there are small lumps of cocoa, keep stirring just until they disappear.
- Fold in chocolate chips (optional). If using chocolate chips, gently fold them through the batter. Use a light hand so you don’t knock out too much air; this helps keep the texture fudgy rather than dense.
- Fill the pan and level. Scrape the batter into the prepared pan. Use a spatula to spread it into an even layer, pushing it into the corners. Smooth the top so it bakes uniformly and doesn’t dome too much in the center.
- Bake to just done. Bake for 25–30 minutes. Start checking at 25 minutes by inserting a skewer or toothpick into the center. It should come out mostly clean with a few moist crumbs, but not wet batter. This is key for fudgy brownies.
- Cool before slicing. Remove the pan from the oven and let the brownies cool in the pan for about 10 minutes. Then use the parchment overhang to lift them onto a wire rack to cool completely. Cutting too early can make them crumble, so give them time to firm up.
- Slice and store. Once fully cooled, cut into 12 squares. Store leftovers in an airtight container at room temperature for a day or two, or refrigerate for a slightly firmer, extra fudgy texture.
Best Yogurt to Use
For the best texture, choose a thick, Greek-style yogurt with at least 2% fat. Full-fat will give you richer, softer brownies, while nonfat can make them a bit drier and more cake-like. Flavored vanilla yogurt works well here, but check the sweetness—if yours is very sweet, you may want to slightly reduce the added sugar. Avoid very runny or drinkable yogurts because they’ll thin the batter and affect baking time. If your yogurt is on the thinner side, you can strain it through a fine sieve or cheesecloth for 10–15 minutes to remove excess liquid before using.
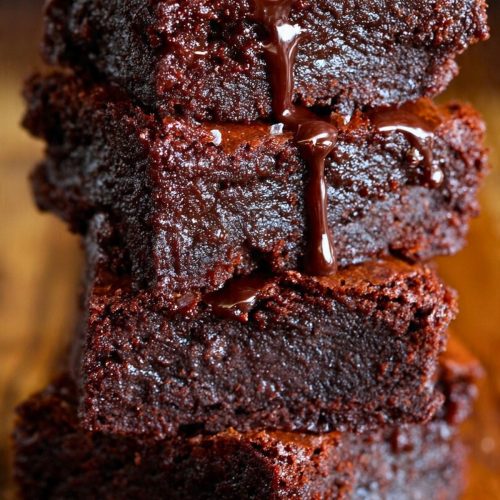
Making Them Extra Fudgy
If you prefer brownies that are almost truffle-like, focus on underbaking slightly and cooling correctly. Pull the pan from the oven as soon as a toothpick shows moist crumbs instead of waiting for it to come out completely clean. That last bit of cooking happens from residual heat as they rest in the pan. You can also use a higher-fat yogurt, a splash less milk, and real chocolate chips instead of chunks that melt away. Chilling the brownies in the fridge for a few hours after cooling will firm them up into a dense, fudgy texture that slices very cleanly.
Easy Mix-Ins and Swaps
This recipe is flexible, which is useful when you’re working with whatever you have on hand—especially when traveling. For a nutty version, fold in chopped walnuts, pecans, or hazelnuts along with (or instead of) chocolate chips. To keep things lighter, skip the chips and add a handful of fresh or frozen raspberries for a tart contrast. You can swap almond milk for dairy milk, or use oat or soy milk with no issue. For a deeper chocolate flavor, use dark chocolate and dark cocoa powder; for something milder, choose semi-sweet chocolate and regular cocoa. Just keep the basic ratios the same so the batter consistency doesn’t change too much.
Curious About This Recipe? Read On
Why do my Greek Yogurt Brownies sometimes turn out dry or cakey?
Dry or cakey brownies usually come down to overbaking or using very low-fat ingredients. Because Greek yogurt is high in protein, it can firm up quickly in the oven. If you bake until a toothpick comes out completely clean, you’ve likely gone too far. Aim to pull them when you still see a few moist crumbs. Also check your yogurt choice: nonfat and very low-fat yogurts remove the richness that creates fudginess. Using a thick 2% or full-fat Greek yogurt and measuring your flour carefully (spoon and level instead of packing) will help you keep the texture soft and moist.
Can I halve or double the recipe, and how does that affect baking time?
You can halve this recipe easily by using a smaller pan, such as a 6 x 6-inch or similar, and checking for doneness a bit earlier. The batter will be thinner, so start testing around the 18–20 minute mark. To double it, use a 9 x 13-inch pan and keep the oven temperature the same. The center will take longer to set, so begin checking around 28–30 minutes, but it may need up to 35 minutes. Always rely on the toothpick test with moist crumbs rather than the clock, since pan material and oven variations can shift the timing.
Greek Yogurt Brownies
Equipment
- Mixing bowl
- microwave-safe bowl
- 8 x 8-inch baking pan
- parchment paper
- whisk
- spatula
- wire rack
Ingredients
- 1/2 cup chopped chocolate
- 1 cup vanilla yogurt see notes
- 1/2 teaspoon vanilla extract
- 1/2 cup sugar of choice white, brown, or sugar-free
- 3/4 cup all-purpose flour use gluten-free if needed
- 1/2 cup cocoa powder
- 1/2 teaspoon baking soda
- 1/2 cup milk of choice unsweetened almond milk suggested
- 1 cup chocolate chips optional
Instructions
- Heat the oven to 180°C (350°F). Line an 8 x 8-inch baking pan with parchment paper and set it aside.
- Place the chopped chocolate in a microwave-safe bowl and melt in short bursts, stirring between intervals until smooth. Let it rest for 1–2 minutes so it cools slightly.
- Whisk the vanilla yogurt, vanilla extract, and sugar into the warm melted chocolate until the mixture is glossy and even. Transfer this mixture to a large mixing bowl.
- Add the flour, cocoa powder, and baking soda to the bowl and stir just until combined. Pour in the milk and mix until the batter is smooth and uniform.
- If using, gently fold the chocolate chips into the batter until evenly distributed.
- Spoon the batter into the prepared pan and smooth the top. Bake for 25–30 minutes, or until a skewer inserted near the center comes out with only a few moist crumbs.
- Allow the brownies to cool in the pan for about 10 minutes, then lift them out using the parchment and transfer to a wire rack to cool completely before slicing.